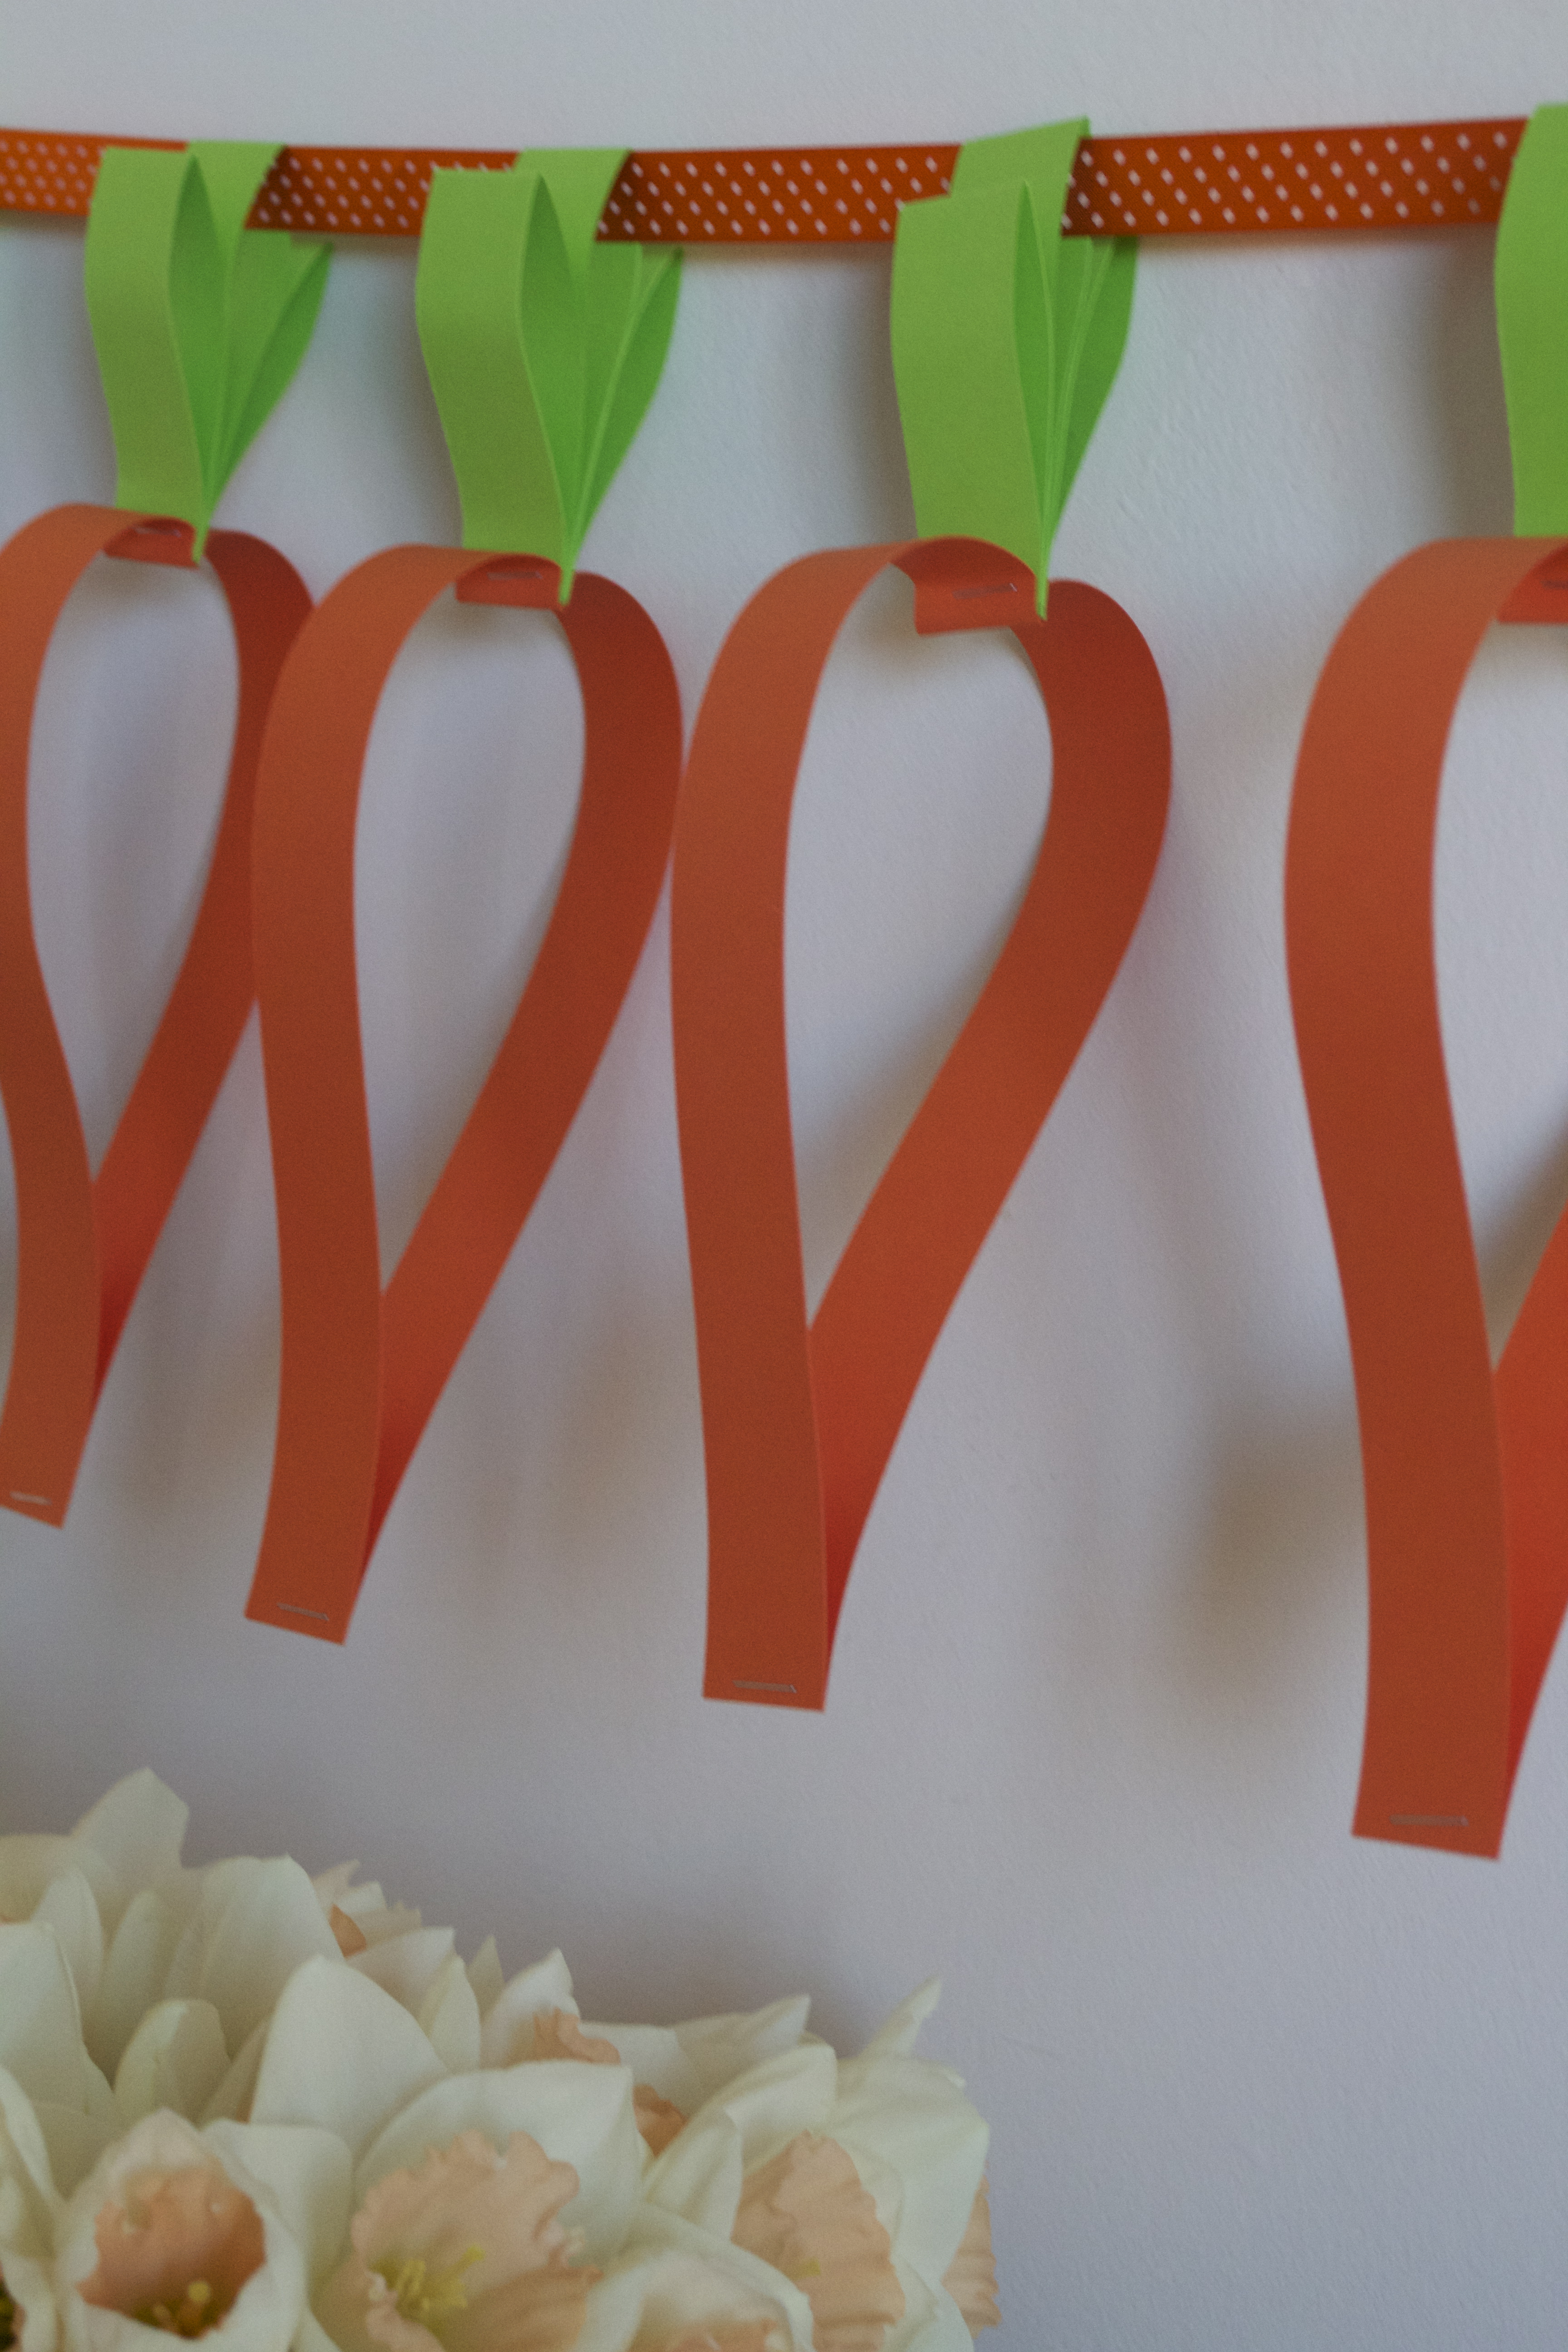
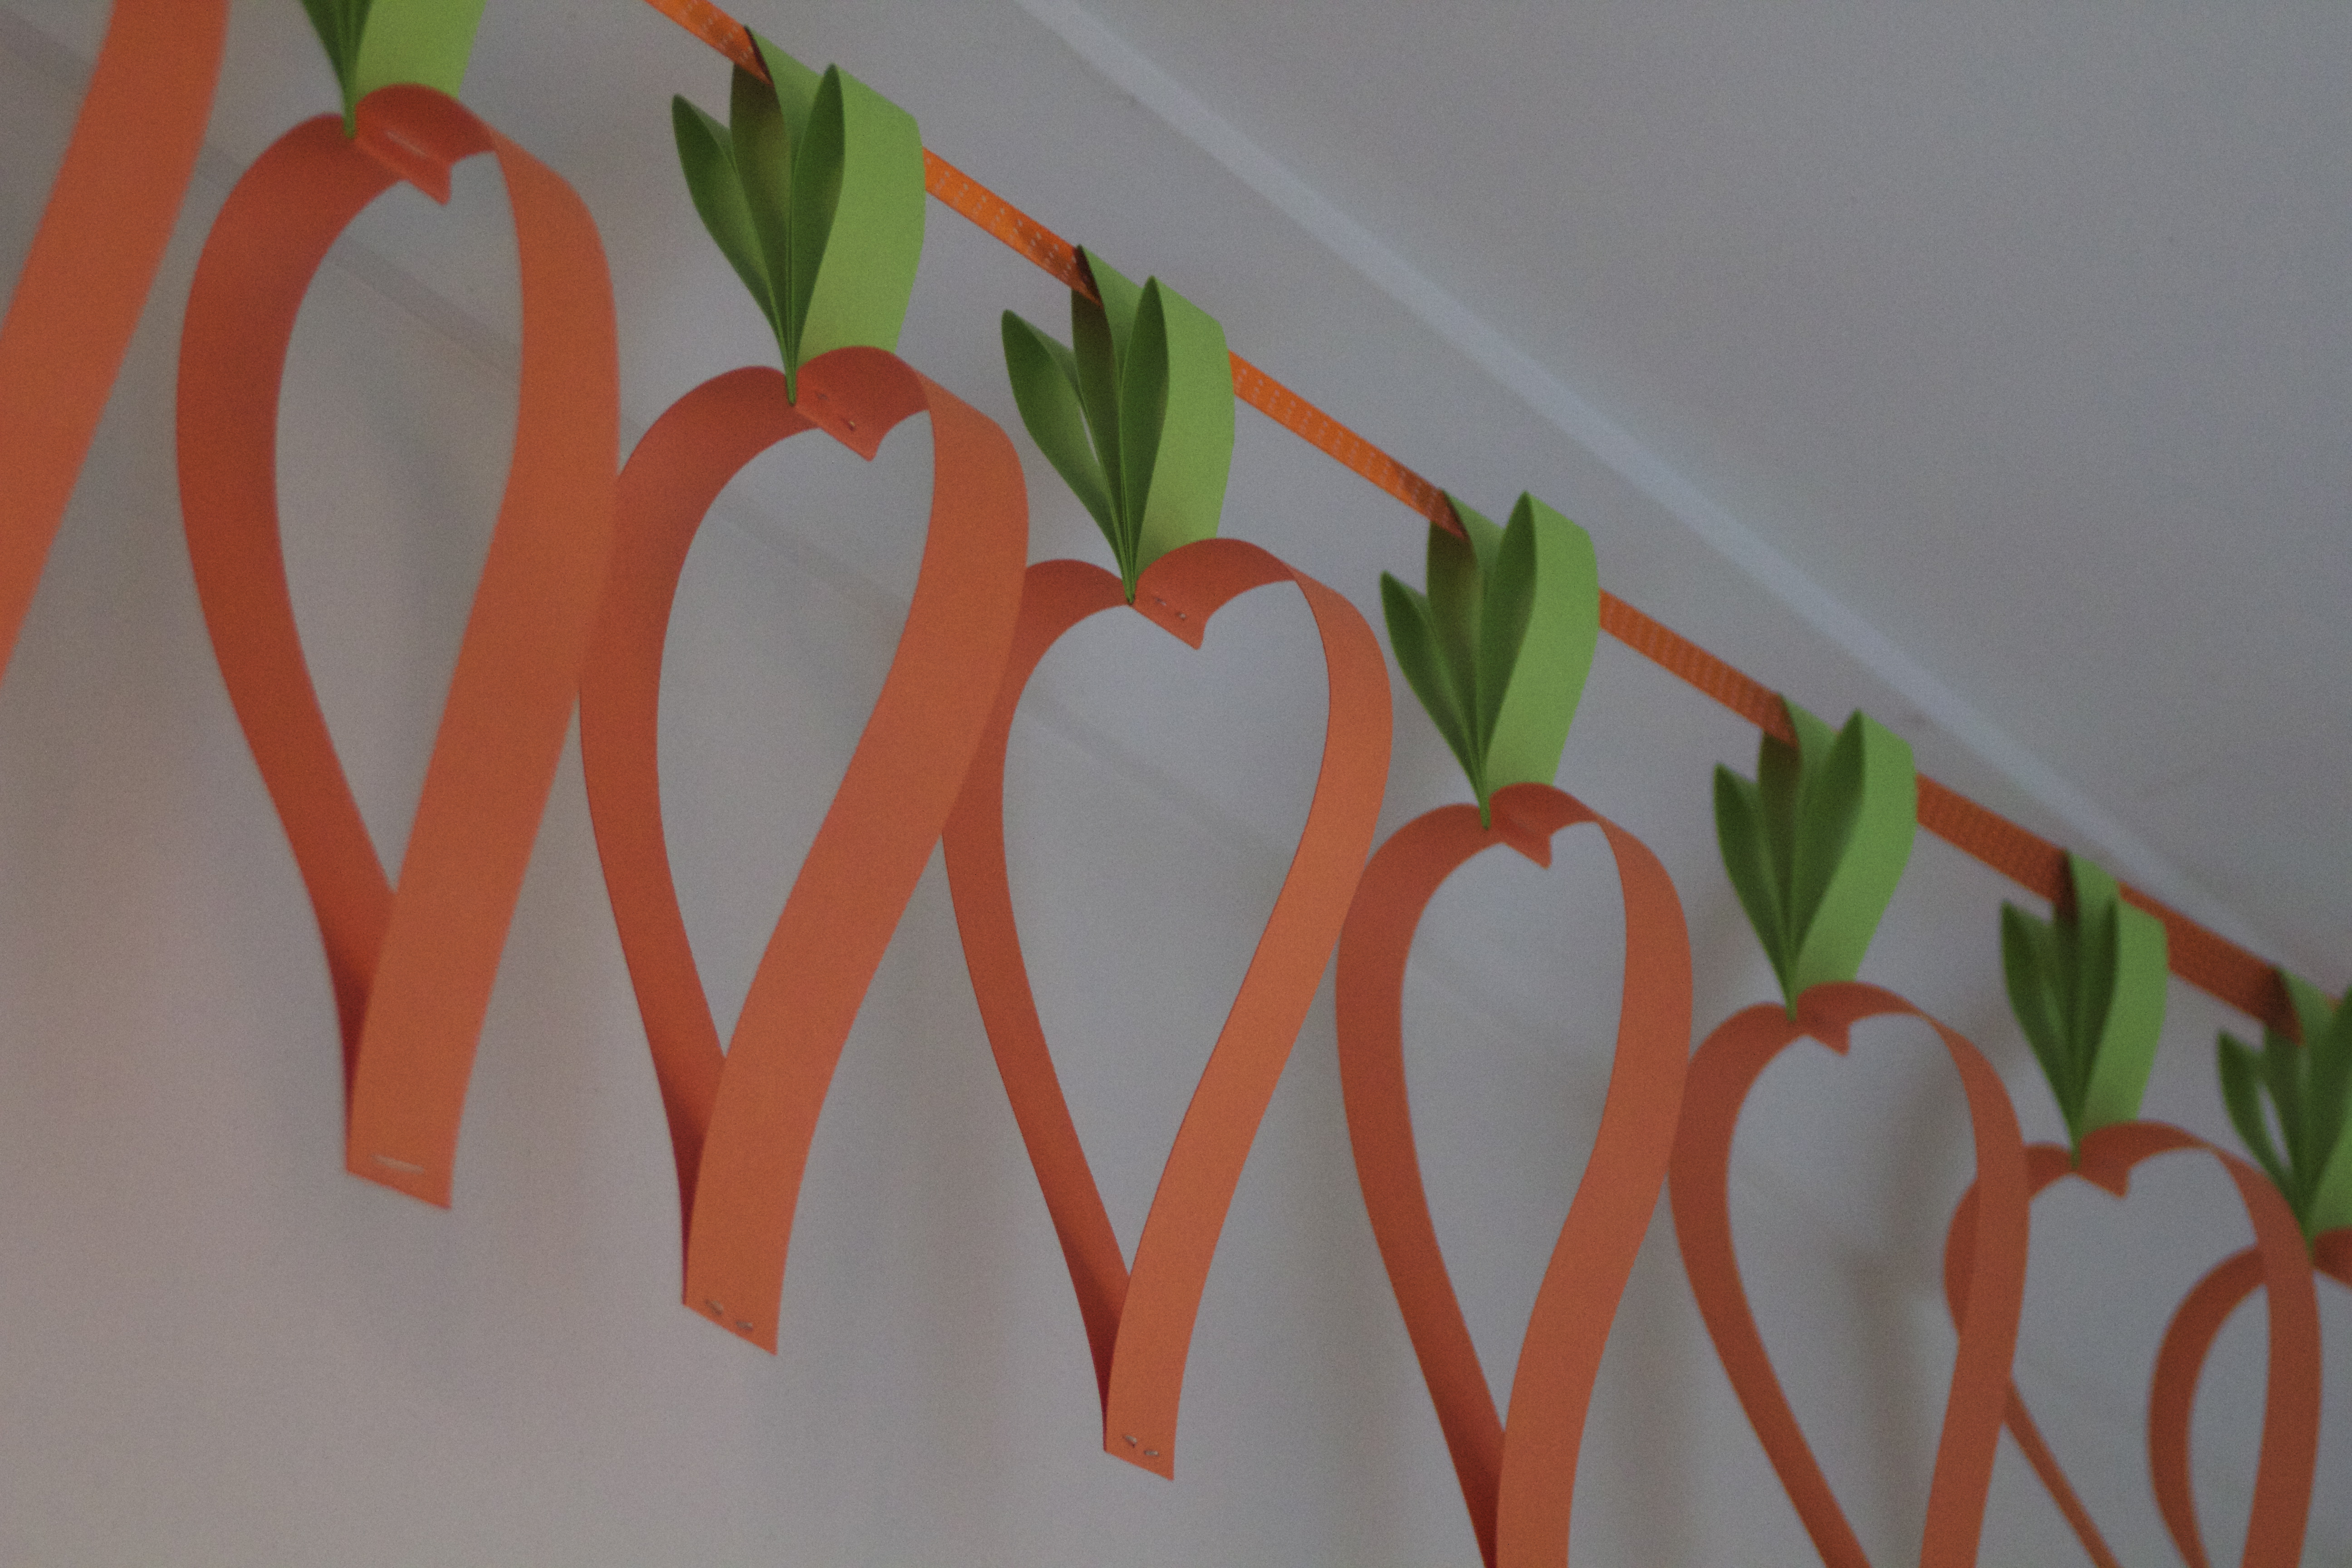
 Easter is another great opportunity to try something new with the kids, and brighten things up with some Easter decorations – and this Carrot Garland certainly fits the bill. It’s very quick and easy to make, and should keep the kids busy for an hour or so.
You will need:
 An A3 sheet of orange card
- An A3 sheet of green card
- A craft knife
- A cutting mat
- A ruler
- A stapler

How to make the carrot garland:
- Using your ruler and craft knife, cut the card into 2.5cm strips along the shortest side of both the orange and green card

- Fold each of the orange strips in half
- Next, cut each of the green strips into three different lengths (small, medium and large)
- Fold each of the cut green lengths in half
- Take the largest folded green strip and hold it so the fold is at the top and the ends are at the bottom, then place the medium size folded strip and place it to the right of the large strip in your hand. Place the smallest folded green strip to the left of the largest

Mook making the Easter Carrot Garland
- Pick up your folded orange strip, holding it at the bottom of the fold, so the ends flop down like seagull wings – we had quite a lot of fun messing about with the seagull strips! (you should be holding the fold so that it looks like the bottom of a heart, rather than the top of a pyramid)
- Keeping your three folded green strips together, place them into the open fold of the orange strip
- Secure the green strips into the orange strip with a staple
- If you have put everything together the right way up, the orange sides should have a good bounce
- Bring both of the orange sides down and secure at the bottom with another staple
- Once everything is secure, you can gently push and pull the folded strips around to get the perfect carrot shape

Lulu making the Easter Carrot Garland
- Choose some matching ribbon – we chose some lovely orange and white spotted ribbon – and, depending on where you are hanging your garland, either thread the carrots onto the ribbon and secure in place with a staple, or just string onto the ribbon

Mook with a carrot for her Easter Carrot Garland


Tagged: Backdrops, children's parties, craft ideas for kids, Easter, Easter Carrot Garland, easter crafts for kids, Entertaining, garlands, kids craft project, Mook & Lulu's, party backdrops, Party Styling

Leave a comment